
Leftover Magic: Lesson 2
- Shannelle Townsend

- Apr 15, 2020
- 4 min read
Good Day My Friends and Welcome back! It is time for Lesson 2 of our Leftover Magic Mini Course!
Unfortunately, the website experienced some technical issues that complicated the delivery of Lesson 1 but we got everything ironed out and we appreciate you all for being in communication throughout this process. Your feedback has been so valuable! We believe everyone has been addressed but if you are still unable to open the Lesson 1 link. Let us know by simply replying to this lesson.
Since we ironed out the functionality of the course in Lesson 1 we're just going to dive right into Culinary Corner!

Today we are going to discuss the most exciting topic of this course: Food Temperatures!
No, Seriously!
Cooking and Cooling is a Serious Matter! I know we don't want to think about it this way but don't label us Debbie downers just yet. There is hope!
In today's lesson we will cover all of the ways to properly store your holiday ham so you can keep on making..... Leftover Magic!
If you have been cooking or eating for an extended period of time you have probably heard thatall food items have an optimal internal tempertature. We have all seen the temp chart right.....

In commercial kitchens these temperatures are commonly referred to as the Minimum Internal "Cooking" Temp Range. We use the temps as the gold standard for safe cooking. This much is expected. But did you know there is a Minumun Internal Cooling Temp Danger Zone Range that we must also consider? Allow me to explain.....
Keyterms & Definitions:
Cooling Danger Zone:
The danger zone is the temperature range in which food-borne bacteria can grow very rapidly. Food safety agencies, such as the United States' Food Safety and Inspection Service (FSiIS),define the danger zones as roughly 4.45 to 60 °C (40.01 to 140.00 °F). Take a peek at the chart below.

Many people think that once a food has been properly cooked, all disease-causing organisms (pathogens) have been killed. This is not true. Some pathogens can form heat-resistant spores, which can survive the harshest of cooking temperatures. When the food begins cooling down and enters the danger zone, these spores begin to grow and multiply. This is what is happening when your holiday spread is sitting out on the table all day. If the food spends too much time in the danger zone, the pathogens will increase in number to a point where the food will make people sick. This is where leftovers can become dangerous if not properly reheated before consumed. If these foods are not reheated to the prefered internal temperature (1st chart) we provide no opportunity to kill the pathogens that may have grown during the cooling/sitting period.
Bottom Line: At your next family gathering tell your Uncle he can not leave the food out all day! And it needs to be reheated! Room temperature food is Dangerous Food!
You have a certain number of hours in which your food remain safe and will cause you no problems but just to be safe, for home purposes a good rule of thumb is not longer than 1 hour. Now, realistically consider how long we tend to leave the food out at room temperature during a large family event.
Scary Right!!
Alright! Quiz time......
Can anyone tell the class what happens in a restaurant when we need to bring a liquid food item, such as a soup or stock, out of the danger zone quickly before storing?

Answer: We use a cooling wand!
This glorious tool is filled with ice, capped, then submerged to cool the foods from the inside out! Now we generally do not have one of these on hand at home but we can use other practices when we need to cool food quickly:
1. Submerge a freezer bag full of ice when cooling soups & stocks.
2. Place 2 cookie sheets in the freezer for 20-30 mins. Place meats on 1 sheet, cover with other.
3. Run starches and pastas under cool water inside a strainer
4. Submerge vegetables in an ice bath
Bonus Tips:
#1 Be sure to screen shot the temperature charts for quick reference!
#2 Cured ham (cook-to-eat) has a maximum 5-6 day shelf life in the Fridge and a 3 month extended stay in the freezer. If you plan to keep your ham in the fridge store it in an airtight container with lid or a plastic Storage bag. If you intend to put it in the freezer opt for a vacuum sealed bag to retain maximum freshness!
Now THAT was some heavy stuff! Shew! We could go on and on about food temperatures.
Was that not riveting!? No?
Just Us? Fine!
We will now move on to the recipe portion of today's lesson..... But keep in mind applying these food cooling and storage practices will reduce the spread of food-borne illnesses. This will aid in your fight to keep yourself and your family safe and healthy!

Ham Explosion Sandwiches
Prep: 10 Mins Bake Time: 15 Mins Yield: 7 Sandwiches Cost: $.71 cents/per serving
Ingredients:
1-2 c Sliced or Sliced Ham 7 Mini Hoagie Buns 1 Can Sliced Pineapple, in juice 7 slices of Swiss or Provolone Cheese 2T Melted Butter, divided
Directions:
Preheat oven to 350 degrees.
Add 1T melted butter to casserole dish. Separate Buns. Place bread bottoms in dish.
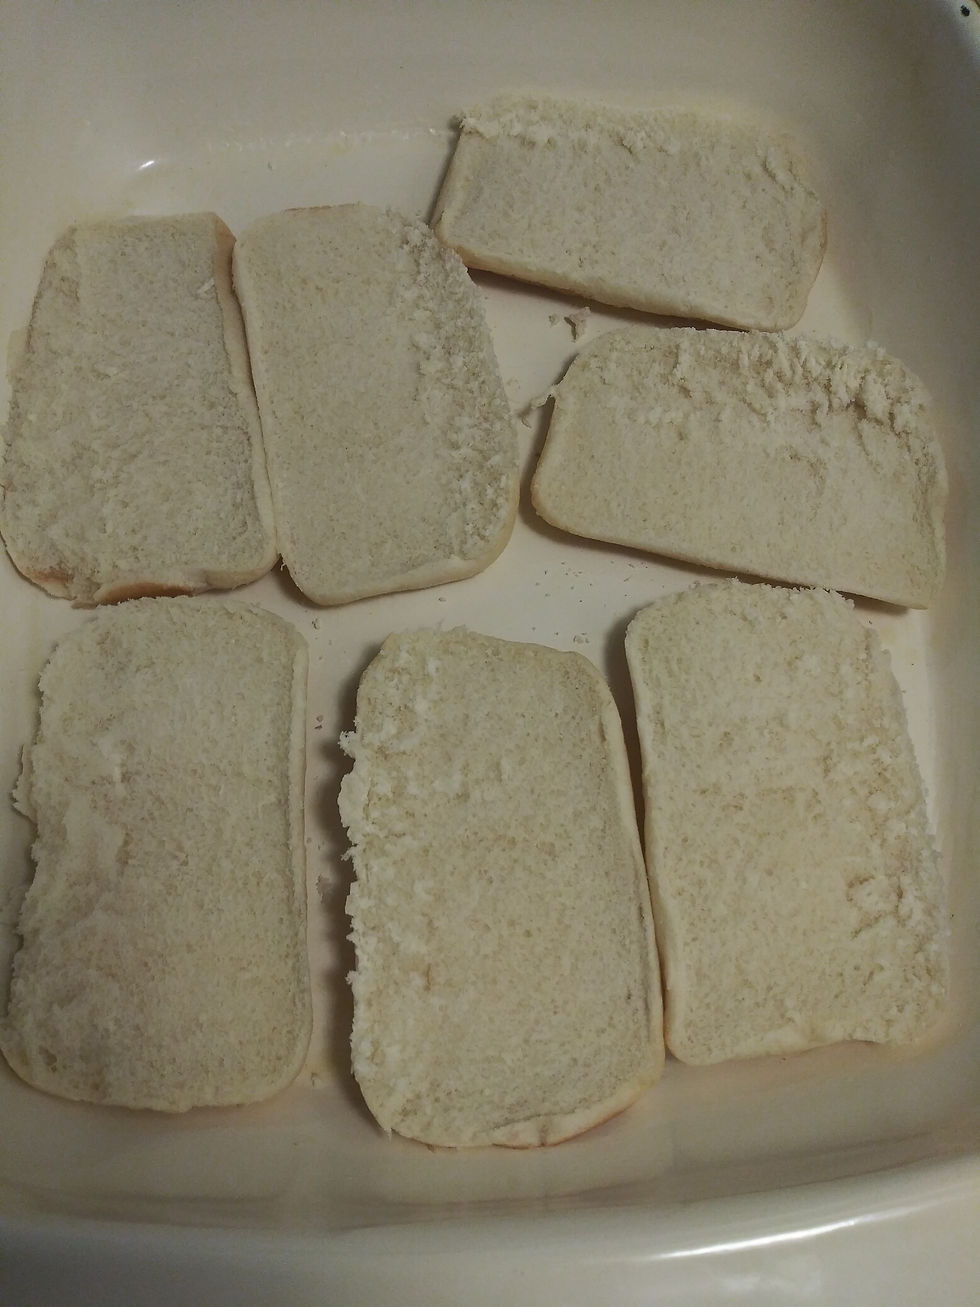
Put ½ slice of cheese on bread. Cover with Ham.

*Note: This pic was taken before the cheese was placed on the bottom.
Top with Pineapple and remaining half of cheese.

Top the sandwiches, turning the buns upside down.

Spread Butter on tops and sprinkle with the following:
Garlic Powder Sea Salt Italian Seasoning
DO NOT omit this critical butter/season step. It makes a HUGE difference in your finished product.
Bake uncovered for 10-15 Minutes!
Enjoy!

See you Tomorrow for Day 3


Comments